Introduction
This is the third post on the topic of Linux kernel PWN. In the last two posts, we have just played with a CTF challenge and CVE-2009-1897. Now it’s the time for us to learn how to set up our kernel debugging environemnt.
Sometimes it seems to be needless to set up a whole debugging environment when lots of analysis and mature exploits are available. You can just spawn a new virtual machine with target OS installed, or downgrade the kernel of one existing system, and then attack the environment with exploits from the Internet. However, if we want to go deeper, it is necessary to analyse the vulnerability and debug our handcrafted exploit code step by step in a debugging environment where the state of kernel is accessible when needed.
Hence, this post will detail how to set up a debugging environment in favor of our Linux kernel PWN trip. These days I am working on CVE-2022-34918, so some configurations or debugging examples may be derived from my debugging work for this vulnerability.
Following the tutorials and manuals on the Internet, the architecture of my debugging environment will be like:
+-----------------------------------------+
| VM1 (VirtualBox, nested virtualization) |
|                                         |
|      +------------------------------+   |
|      |  VM2 (QEMU, for debugging)   |   |
|      |  +------------------------+  |   |
|      |  | kernel (to be debugged)|  |   |
|      |  +------------------------+  |   |
|      |  | root filesystem        |  |   |
|      |  |          +-----------+ |  |   |
|      |  |          |  exploit  | |  |   |
|      |  |          +-----------+ |  |   |
|      |  |                        |  |   |
|      +--+------------------------+--+   |
|                                         |
|                    +----------------+   |
|                    | GDB (with GEF) |   |
|                    +----------------+   |
|                                         |
+-----------------------------------------+
For me, I use a Ubuntu 20.04 Vagrant box as VM1. And don’t forget to enable nested virtualization for VM1 in your VirtualBox settings.
By the way, sometimes we need to debug the kernel in a specific Linux distribution. This post details the whole progress to build a debugging environment for Ubuntu at source code level.
Download Source Code and Compile the Kernel
There are lots of posts on how to compile the Linux kernel on the Internet. The steps in different articles are similar, while the configurations differ. For me, I refer to this, this, this and this to generalize my compiling progress. I will take kernel v5.17.15 for example. Here is my way:
Firstly, download the specific source code and verify it:
# install requirements
sudo apt install -y pkg-config libncurses-dev libssl-dev libelf-dev flex bison dwarves
# download the kernel source code with specific version
wget https://mirrors.edge.kernel.org/pub/linux/kernel/v5.x/linux-5.17.15.tar.gz
# download the signature for the specific source code
wget https://mirrors.tuna.tsinghua.edu.cn/kernel/v5.x/linux-5.17.15.tar.sign
# decompress .gz to get .tar
gzip -d ./linux-5.17.15.tar.gz
# verify the signature for security
gpg --locate-keys torvalds@kernel.org gregkh@kernel.org
gpg --tofu-policy good 647F28654894E3BD457199BE38DBBDC86092693E
gpg --trust-model tofu --verify linux-5.17.15.tar.sign
# take out source code
tar xf ./linux-5.17.15.tar
cd ./linux-5.17.15
Secondly, configure the kernel before compiling it. There are some configurations that you need to make sure. Some are common, while the other are just for specific situations. For example, if you build kernel on Ubuntu, maybe you need to empty CONFIG_SYSTEM_TRUSTED_KEYS and CONFIG_SYSTEM_REVOCATION_KEYS, otherwrise your compilation will fail. Besides, for CVE-2022-34918, which has something to do with Netfilter and Netlink, you need enable CONFIG_NF_TABLES and CONFIG_NETFILTER_NETLINK.
make menuconfig
# common configurations:
# - CONFIG_DEBUG_INFO=y
# - CONFIG_BINFMT_MISC=y
# - CONFIG_USER_NS=y
# - CONFIG_E1000=y
# - CONFIG_E1000E=y
# - CONFIG_KASAN=y
# if compiling on Ubuntu, configurations below should be emptied
# - CONFIG_SYSTEM_TRUSTED_KEYS=""
# - CONFIG_SYSTEM_REVOCATION_KEYS=""
# configurations only for CVE-2022-34918:
# - CONFIG_NF_TABLES=y
# - CONFIG_NETFILTER_NETLINK=y
# at least for 5.17.15, disable
# - CONFIG_DEBUG_INFO_BTF is not set
make
For CVE-2022-34918, I finally used the .config from another post, because the configurations showed above don’t work for CVE-2022-34918, which would cause the exploit fails. I haven’t figured out the reason.
The compilation may take a long time. Now you can install GEF for GDB, which will facilitate our debugging a lot later:
# install gef for GDB
# the command below only works for the current user
bash -c "$(curl -fsSL https://gef.blah.cat/sh)"
After compilation, we need three things in the directory:
./vmlinux. This is the non-compressed kernel image with symbols. You can load it in GDB to make your debugging easier later../System.map. This file contains the exposed kernel symbols with addresses. I can look up addresses of specific symbols in this file../arch/x86_64/boot/bzImage. The compressed kernel file, which will be used to start the virtual machine.
Build the Root Filesystem
To run a virtual machine with QEMU, we need three elements: QEMU, kernel and a root filesystem. We have installed QEMU and built the kernel, now let’s build a root filesystem for our virtual machine. We choose BusyBox as the candidate. Currently the official website of BusyBox is inaccessible, so we will get the source code from the mirror repository on GitHub. By the way, BusyBox 1.35 seems to be vulnerable to CVE-2022-28391.
The compiling progress (from this wiki) is:
git clone https://github.com/mirror/busybox
git checkout 1_35_stable
make menuconfig
# - CONFIG_STATIC=y
# - unset CONFIG_INETD
# - unset CONFIG_FEATURE_MOUNT_NFS
make
After compilation, create some directories and add an init file as the startup script:
make install
cd _install
mkdir -p proc sys dev etc/init.d
cat > init << EOF
#!/bin/sh
echo "INIT SCRIPT"
mkdir /tmp
mount -t proc none /proc
mount -t sysfs none /sys
mount -t devtmpfs none /dev
mount -t debugfs none /sys/kernel/debug
mount -t tmpfs none /tmp
echo -e "Boot took $(cut -d' ' -f1 /proc/uptime) seconds"
echo -e "Welcome back to the MATRIX, Neo :)"
setsid /bin/cttyhack setuidgid 0 /bin/sh
#setsid /bin/cttyhack setuidgid 1000 /bin/sh
EOF
chmod +x init
Boot the VM and Debug
If you want to debug your exploit, the scripts decompress_cpio.sh and compile_exp_and_compress_cpio.sh introduced in Linux Kernel PWN | 01 From Zero to One will be useful. The final architecture of our debugging base directory is like:
-rw-r--r-- 1 vagrant vagrant  10682624 Oct  7 07:01 bzImage
-rwxr--r-- 1 vagrant vagrant       379 Oct  7 07:02 compress_cpio.sh
-rwxr--r-- 1 vagrant vagrant       227 Oct  7 01:19 decompress_cpio.sh
-rw-r--r-- 1 vagrant vagrant     33086 Oct  7 07:08 exploit.c
drwxr-xr-x 1 vagrant vagrant       442 Oct  7 07:02 initramfs (_install from busybox)
-rwxr-xr-x 1 vagrant vagrant       387 Oct  7 06:58 start.sh
-rwxrwxr-x 1 vagrant vagrant 855791608 Oct  7 11:37 vmlinux
The start.sh contains commands to create and start the virtual machine:
#!/bin/sh
qemu-system-x86_64  \
-m 4G  \
-smp 2  \
-kernel ./bzImage    \
-append "console=ttyS0 oops=panic panic=1 net.ifnames=0 nokaslr no_hash_pointers" \
-initrd ./initramfs.cpio.gz \
-monitor /dev/null \
-no-reboot \
-net nic,model=e1000 \
-nographic  \
-pidfile vm.pid \
-s
You can use compress_cpio.sh to compile the exploit and add it into the root filesystem:
➜  kernel-pwn-base ./comporess_cpio.sh ./exploit.c
/vagrant/kernel-pwn-base /vagrant/kernel-pwn-base
/vagrant/kernel-pwn-base/initramfs /vagrant/kernel-pwn-base /vagrant/kernel-pwn-base
/vagrant/kernel-pwn-base /vagrant/kernel-pwn-base
Then run start.sh to start the VM. You will see the prompt:
INIT SCRIPT
Boot took 710.36 seconds
Welcome back to the MATRIX, Neo :)
/ # id
uid=0 gid=0 groups=0
Now you can use GDB to connect to the GDB server in QEMU and begin your debugging trip:
add-auto-load-safe-path $(pwd)
file ./vmlinux
file ./exploit
target remote localhost:1234
directory $LINUX_KERNEL_SOURCE_DIR
b main
b *0xffffffff81af9ec0
...
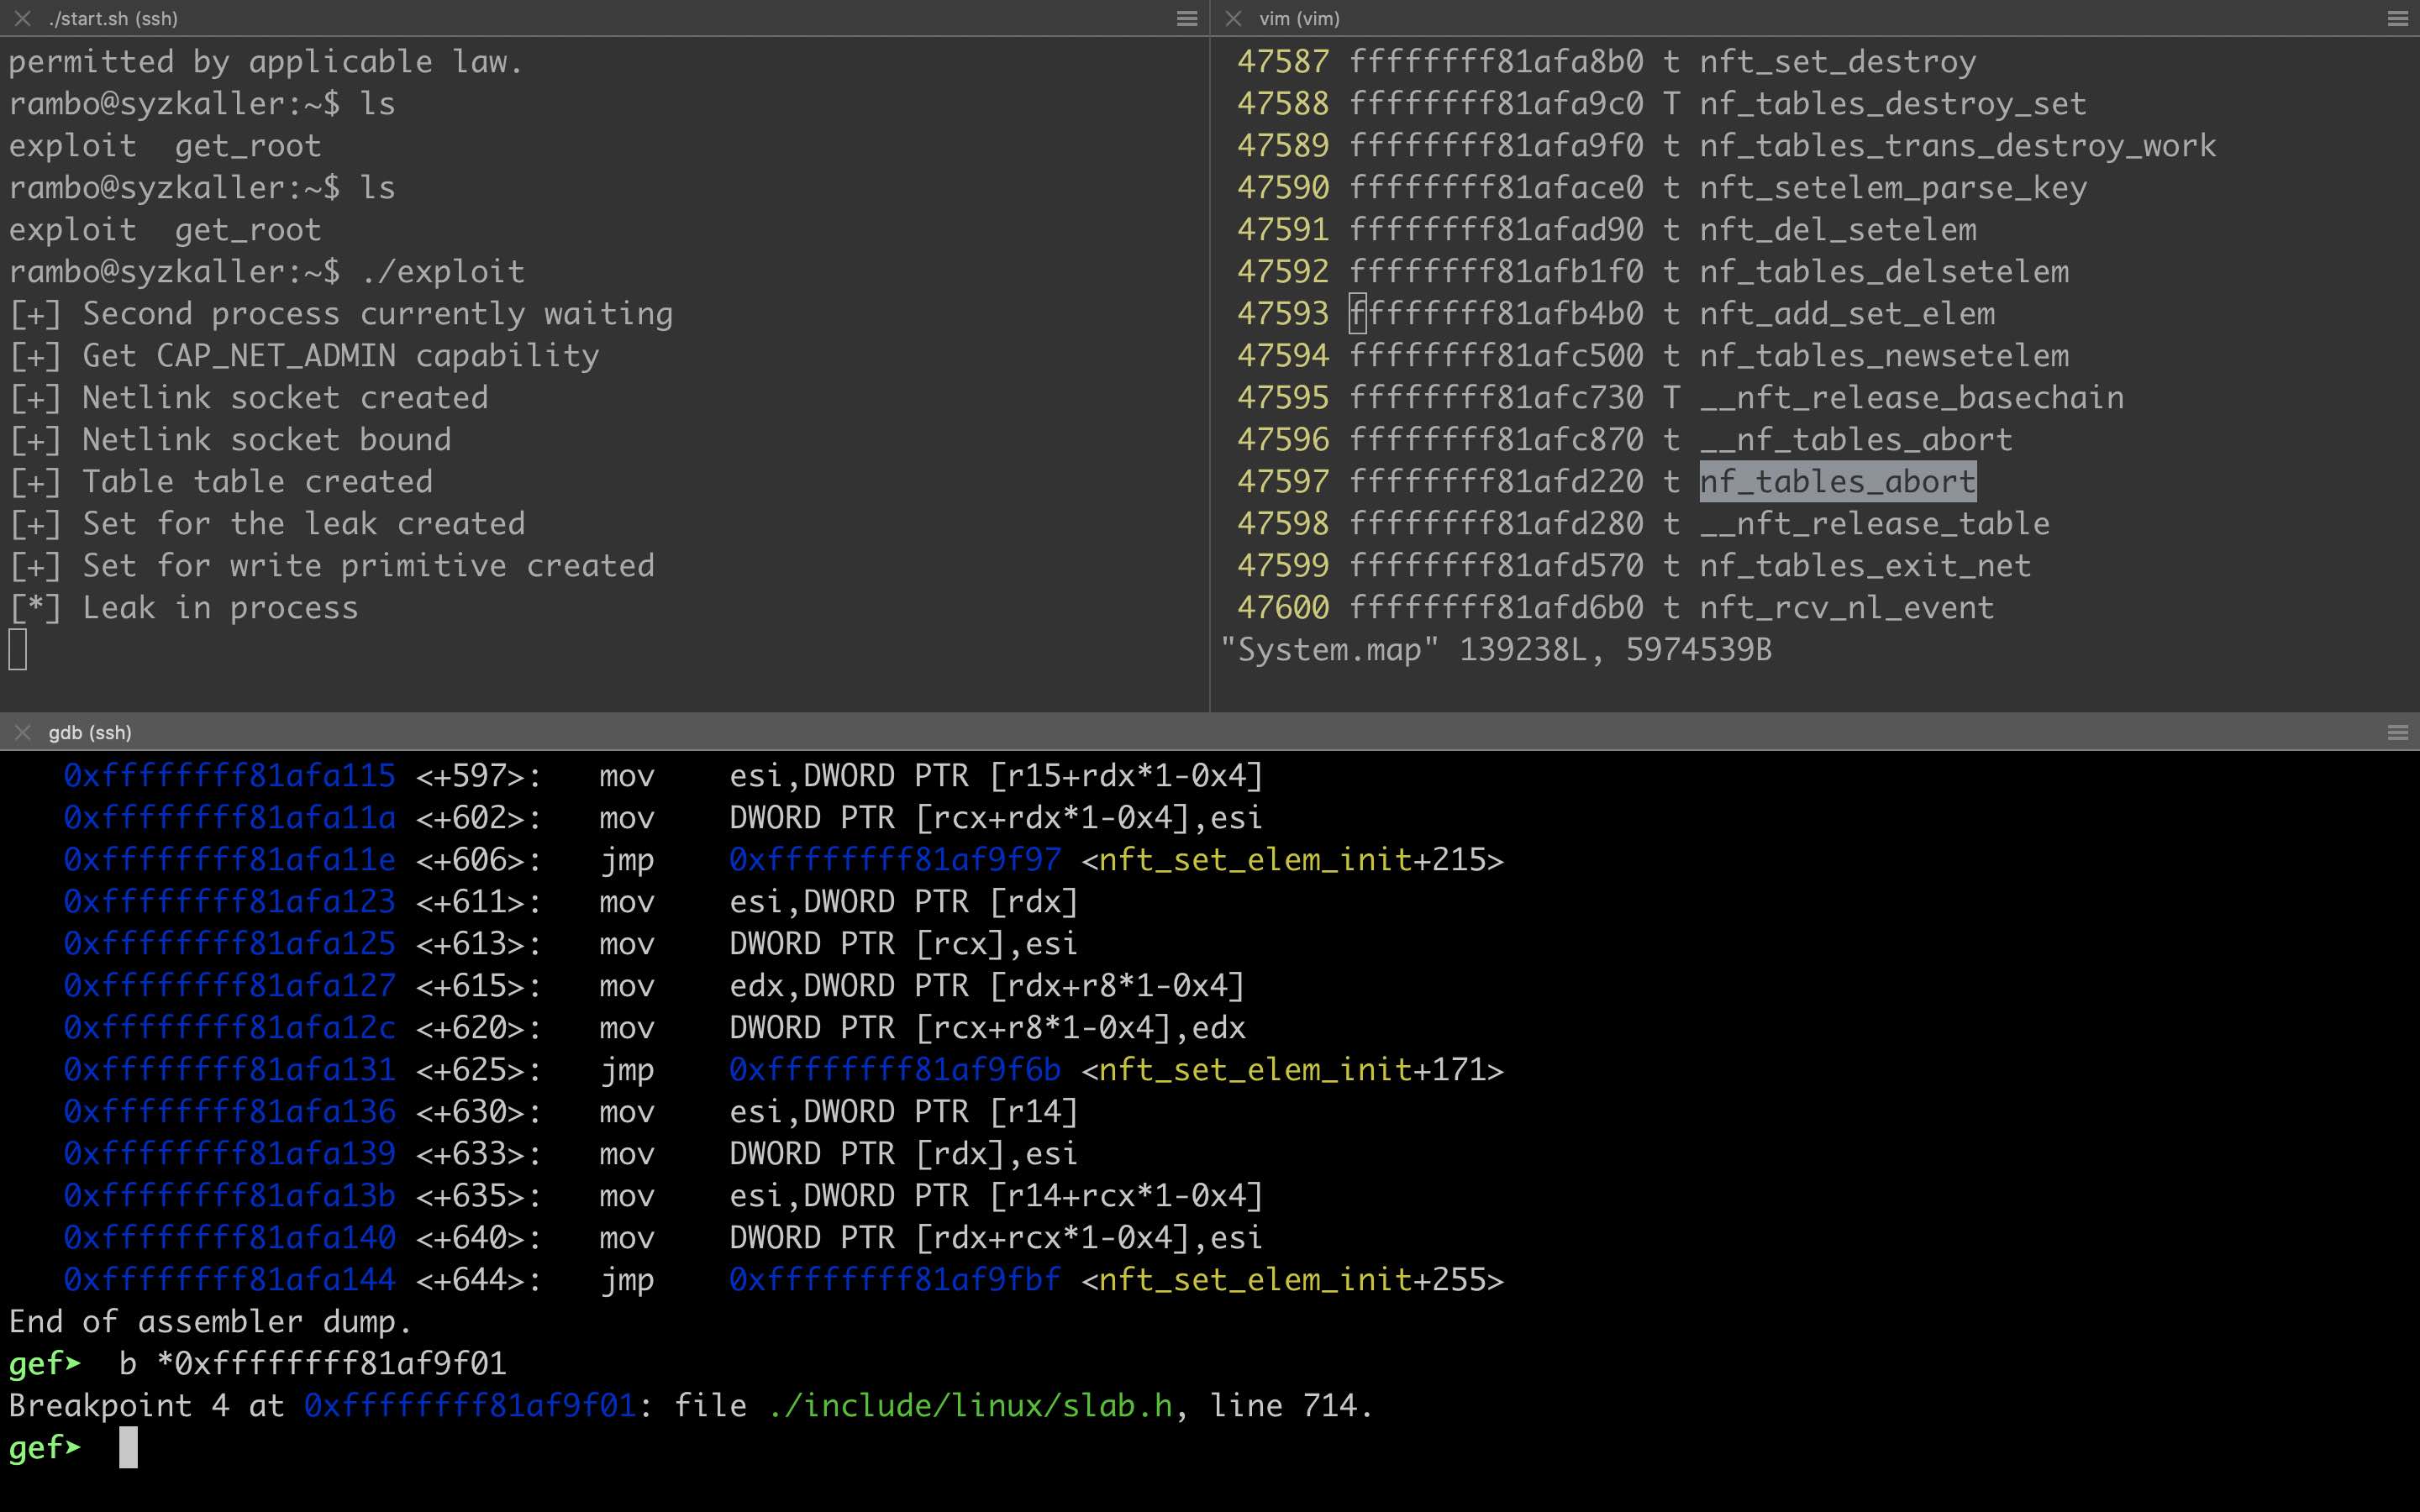
The kernel debugging progress is similar to that of userland program. You can set breakpoints and check memory or registers. It should be noted that when you make a breakpoint in kernel and the control flow jumps to kernel for the first time, the kernel symbols may not appear even if you have loaded vmlinux before. Normally you can just load this file again.
After the environment has been set up, we can start to debug :)
Use scratch.img from syzkaller as Root Filesystem
I found that the root filesystem built with the general process introduced above doesn’t work well for my debugging of CVE-2022-34918. I followed this post and used the scratch.img from the syzkaller project as the root filesystem and exploited this vulnerability finally. You can also follow this document to build a scratch.img as your root filesystem if necessary.
Because scratch.img is not a cpio file, you can not use the method described above to insert your exploit into the root filesystem. Actually, you can scp the exploit to the target VM.
Under this condition, my directory for CVE-2022-34918 debugging is like:
➜  cve-2022-34918 ls -al
total 2951116
drwxr-xr-x 1 vagrant vagrant        408 Oct  9 16:33 .
drwxr-xr-x 1 vagrant vagrant        306 Oct  7 06:32 ..
-rw-r--r-- 1 vagrant vagrant   10722560 Oct  7 11:31 bzImage
-rwxr-xr-x 1 vagrant vagrant    1035296 Oct  9 14:19 exploit
-rw-r--r-- 1 vagrant vagrant      32003 Oct  9 14:19 exploit.c
-rwxr-xr-x 1 vagrant vagrant        177 Oct  9 14:21 gdb_kernel.sh
-rwxr-xr-x 1 vagrant vagrant     882056 Oct  7 06:44 get_root
-rw-r--r-- 1 vagrant vagrant        271 Oct  7 06:32 get_root.c
-rwxr--r-- 1 vagrant vagrant        368 Oct  7 06:59 start.sh
-rw-r--r-- 1 vagrant vagrant 2147483648 Oct  9 16:30 stretch.img
-rw-r--r-- 1 vagrant vagrant    5974539 Oct  7 10:42 System.map
-rwxrwxr-x 1 vagrant vagrant  855791608 Oct  7 11:37 vmlinux
The new start.sh script is:
qemu-system-x86_64  \
-m 4G  \
-smp 2  \
-kernel ./bzImage    \
-enable-kvm \
-append "console=ttyS0 root=/dev/sda earlyprintk=serial net.ifnames=0 nokaslr no_hash_pointers"     \
-drive file=./stretch.img,format=raw \
-net user,host=10.0.2.10,hostfwd=tcp:127.0.0.1:10021-:22 \
-net nic,model=e1000 \
-nographic  \
-pidfile vm.pid \
-s \
-cpu kvm64,+smep,+smap \
2>&1 | tee vm.log
Summary
工欲善其事,必先利其器。
This is an aphorism in China, which means that if we want to do things more efficiently, we need to improve our tools. It is true for Linux kernel PWN and other research fields.
We should also notice that technology is always evolving, not static, so the procedures introduced here may be out of date someday. And each time we debug a new vulnerability, the configurations could change. Never follow stiff dogmas. Just follow your heart :)
Now we have a playground for debugging. Have fun with PWN!